PNG's two killer features
For two decades, PNG sat on the throne of web graphics for one reason: it had the two things no other widely-supported format could offer at the same time. Lossless compression meant every pixel you exported was the pixel that got rendered — no blocky artifacts around text, no banding in flat colors, no generation loss when re-saving. Alpha transparency meant a single image could sit cleanly on any background: a logo on white today, on black tomorrow, on a video thumbnail next week.
JPG had neither. GIF had 1-bit transparency (a pixel was either fully visible or fully gone) and only 256 colors. WebP, until 2020-ish, was lossy-only in most encoders. So if you wanted crisp, transparent, artifact-free graphics on the web, PNG was the only serious answer.
The cost of those two features was file size. A 1920×1080 PNG screenshot can easily hit 2 MB. A logo with transparency, 800×600, can be 1 MB. Multiply by a hundred product pages and you are shipping tens of megabytes of PNGs where the actual visual content is a few kilobytes of pixels.
WebP matches both
Here is the part that took the industry a decade to internalize: WebP is not just "the lossy alternative to JPG." It has two independent modes, and one of them was built specifically to replace PNG.
- Lossy WebP — VP8-based, the format most people think of when they hear "WebP." Replaces JPG.
- Lossless WebP — a separate codec (technically called "WebP lossless" or VP8L) that does exactly what PNG does: reconstructs every pixel bit-for-bit, supports a full 8-bit alpha channel, and uses predictive coding to pack the data smaller than PNG's deflate.
Both modes live in the same .webp container. The encoder picks one based on the lossless flag. The decoder figures out which mode was used and handles it transparently. The browser does not care; it just renders the pixels.
The 8-bit alpha channel in WebP is the same as PNG's: 256 levels of transparency per pixel, from fully opaque to fully transparent, with smooth gradients in between. Soft drop shadows, anti-aliased text edges, hair, fur — all preserved exactly as in the source PNG.
That is the whole story in one sentence: WebP can do everything PNG does, and the resulting files are dramatically smaller.
Real size comparisons
Numbers are the only way to make this concrete. Three representative PNGs, three WebP exports, all measured from real files run through the SynoxTools converter.
Case 1: Brand logo with transparency
A vector-style logo exported from Figma at 1200×400, with a transparent background and sharp edges. PNG-24 with full alpha.
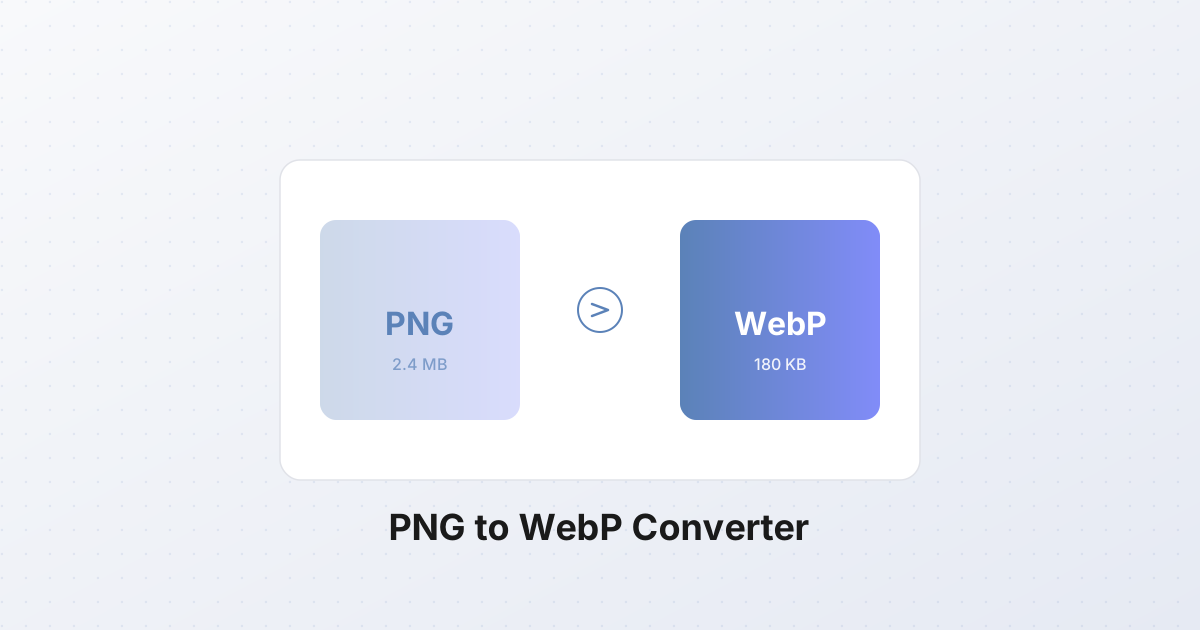
| Format | Size | Notes | |---|---|---| | PNG (source) | 2.4 MB | Lossless, 8-bit alpha | | WebP lossless | 180 KB | 92% smaller, pixels bit-for-bit identical | | WebP lossy q90 | 95 KB | 96% smaller, very mild softening on edges |
The 92% reduction from PNG to lossless WebP is not a typo. PNG uses a single deflate stream; WebP lossless uses spatial prediction (the encoder tries several predictors per block and picks the best), plus a more modern entropy coder. For graphics with large flat regions — which is exactly what logos and icons are — the gains are enormous. The decoded pixels are byte-identical to the PNG; verify it with any diff tool.
Case 2: App screenshot
A 1920×1080 screenshot of a typical app UI: text, buttons, sidebar, lots of flat color, some photographic content in a thumbnail.
| Format | Size | Notes | |---|---|---| | PNG (source) | 800 KB | Lossless | | WebP lossless | 280 KB | 65% smaller, identical | | WebP lossy q90 | 95 KB | 88% smaller, visually identical at 100% zoom |
This is where the lossless-vs-lossy decision gets interesting. Lossless WebP is genuinely lossless and shrinks the file 65%. But lossy q90 is 88% smaller and indistinguishable at normal viewing distances. For a screenshot you are showing at 800px wide in a blog post, q90 is the right answer. For a screenshot you need to zoom into for documentation, lossless is worth the extra 185 KB.
Case 3: Photo with transparency
A 1600×1200 product photo shot on white, background removed, exported as PNG with soft anti-aliased edges.
| Format | Size | Notes | |---|---|---| | PNG (source) | 1.2 MB | Lossless, 8-bit alpha | | WebP lossy q80 + alpha | 90 KB | 92% smaller, visually identical |
WebP lossy with alpha is where the biggest wins happen. The encoder compresses the RGB channels with VP8 lossy (q80 is visually clean for photographic content) and the alpha channel with the lossless predictor. The result is a file with full 8-bit transparency that is 92% smaller than the PNG source.
This combination is the killer feature that JPG could never offer. Photographers and e-commerce sites have been exporting product images on white backgrounds for years because JPG had no alpha channel. With WebP, you can cut out the background, save 90% of the file size, and ship clean transparency that sits on any backdrop.
When to use lossless WebP vs lossy WebP for PNG content
The decision is content-driven. PNG content falls into two camps.
Use lossless WebP for:
- Logos and brand marks — sharp edges, flat colors, antialiased curves. Any lossy compression will introduce ringing along edges that becomes visible the moment the logo sits on a high-contrast background.
- Icons — same logic. A 32×32 toolbar icon has maybe 200 distinct pixels; lossy artifacts will distort the entire thing.
- Text screenshots — UI captures, code blocks, terminal windows. Lossy compression blurs text edges and introduces color shifts in syntax highlighting.
- UI elements — buttons, badges, dividers. Usually small, usually flat colors, usually reused everywhere.
- Diagrams and line art — anything where a single misplaced pixel is visible.
The signature trait of all of these: large flat regions and hard edges. Lossless WebP compresses them extraordinarily well because the predictor can encode "this 64×64 block is all #1a73e8" in a handful of bytes.
Use lossy WebP for:
- Photos saved as PNG — rare, but it happens when someone exports from Lightroom with the wrong preset or screenshots a photo for documentation. PNG makes the file enormous; lossy WebP at q80-q90 collapses it 90% with no visible loss.
- Gradients and continuous-tone graphics — soft drop shadows, blurred backgrounds, smooth color blends.
- Decorative photographic elements — hero background images with transparency, soft masks, anything where you would accept JPG if it supported alpha.
The 30-second test: zoom in to 400% on the PNG. If you see individual pixels and sharp transitions, go lossless. If you see smooth gradients and noise, go lossy. There is no third option.
How WebP keeps the alpha channel
The transparency story deserves a moment because it is the feature people most worry about losing.
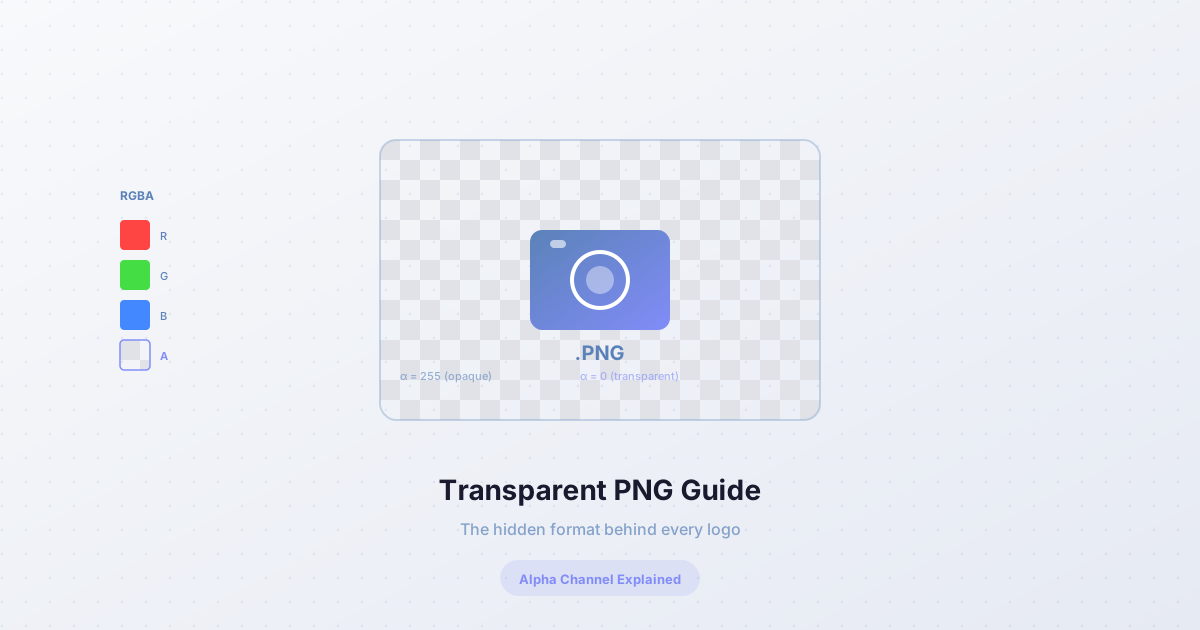
In PNG, the alpha channel is a separate plane stored alongside RGB. Each pixel has four bytes: R, G, B, A. The A byte (0-255) controls opacity. PNG encodes this plane with deflate, which is decent but not exceptional on image data.
In WebP, the alpha channel is handled differently depending on the mode:
- Lossless WebP — alpha is encoded with the same VP8L predictor as the color channels. Each pixel's alpha value is predicted from its neighbors and the residual is entropy-coded. Result: typically 30-50% smaller alpha plane than PNG.
- Lossy WebP — color is encoded with VP8 (the lossy video codec). Alpha is encoded separately with a lossless predictor. The two are then packaged into the same container.
This split is important: even when you choose lossy compression for the visible image, the alpha channel stays lossless. No stair-stepping on soft edges, no quantization on hair or fur. A drop shadow that faded from 100% to 0% over 20 pixels in the PNG will fade the same way in the WebP.
Verify this yourself: take a PNG with a soft shadow, convert to WebP lossy q80, and load both side by side on a checkerboard background. The shadow looks identical. The file is 90% smaller.
Browser support for WebP alpha
In 2026, this is mostly a solved problem. WebP — including the lossless mode and the alpha channel — is supported by:
- Chrome 32+ (January 2014)
- Edge 18+ and Chromium Edge since launch
- Firefox 65+ (January 2019)
- Safari 14+ (September 2020, with macOS Big Sur)
- Opera 19+
- All modern mobile browsers
The current unsupported slice is roughly 3% of global traffic — mostly Safari 13 and below on older macOS and iOS devices, plus a long tail of embedded webviews and ancient Android browsers. caniuse puts WebP support at 97.3% as of late 2026.
The transparency piece specifically has had full support since the same browser versions; alpha was part of the original WebP spec and there has never been a browser that supported WebP but not its alpha channel. If WebP renders at all, transparency renders.
The practical question is whether you need to worry about the 3%. For most sites, the answer is yes — broken images are a worse experience than slightly larger images. The fix is the <picture> element.
The <picture> element with PNG fallback
The pattern is five lines and gives you the best of both worlds: WebP for the 97%, PNG for the 3%, no JavaScript, no user-agent sniffing.
html<picture>
  <source srcset="logo.webp" type="image/webp">
  <img src="logo.png" alt="Company logo" width="400" height="120">
</picture>
The browser evaluates <source> elements in order. If it understands image/webp, it loads the WebP. If not, it falls through to the <img> and loads the PNG. The width and height attributes on <img> matter — they prevent layout shift while the image downloads, which is a Core Web Vitals consideration.
Animated WebP, briefly
WebP supports animation in the same container as static images. Each frame is encoded as a separate image (lossy or lossless, per-frame) and the container holds frame durations, disposal methods, and loop count.
For the use cases most people have:
- Short loops, limited colors — animated WebP replaces GIF at roughly half the file size, with full 24-bit color (no more GIF dithering) and 8-bit alpha (no more GIF binary masks).
- Smooth animation, photographic content — animated WebP works but animated AVIF is now better supported and smaller. Animated WebP remains the safer cross-browser choice for now.
- APNG — animated PNG — is a thing, with lossless quality and full alpha. File sizes are roughly 3-5× larger than animated WebP for the same content. APNG is the right pick only when lossless is non-negotiable (e.g., pixel art) and browser support is not a concern.
The honest answer for animation in 2026: if you are starting from a video clip, ship a short MP4 or WebM with <video autoplay muted loop playsinline>. It is smaller than any image-format animation and renders more smoothly. Reach for animated WebP when you specifically need an image file (a chat sticker, a documentation snippet, an inline graphic that must behave as an image).
Batch conversion
One PNG to WebP is a 5-second task. Five hundred PNGs is a different problem.
The same workflow applies: same encoder, same quality settings, same transparency preservation. What changes is the ergonomics. You want a tool that:
- Accepts a folder drag-and-drop, not a single file picker.
- Preserves the directory structure in the output, so
assets/icons/*.pngbecomesassets/icons/*.webpand not a flat directory of 500 files. - Bundles the output into a single download (typically a ZIP) so you are not clicking 500 download links.
- Reports failures explicitly — if 3 of 500 files have a corrupt alpha channel, you want to know which 3.
The batch converter on this site does all of this in the browser. Files never leave your machine, which matters for client work and NDAs. For a typical website migration — replacing PNGs with WebPs across a few hundred product images — the entire job runs in under a minute on a modern laptop.
A practical batch tip: set a single quality target and apply it uniformly. Mixing lossless and lossy on a per-file basis during batch is tempting but produces inconsistent results. Better to run the batch twice: once with lossless=true for the icons and logos, once with lossless=false, quality=85 for the photographic content. Sort the source folders first.
When not to convert
WebP is not always the right answer. Three cases where PNG (or another format) stays the better choice.
Tiny icons under 5 KB. A 16×16 favicon stored as PNG is often under 1 KB. The same icon as WebP might be 600 bytes — a 40% reduction, but the absolute savings are smaller than the HTTP/2 frame overhead. Below ~5 KB, the format choice stops mattering; ship whichever you already have.
Logos that exist as SVG. If your logo is a vector file, you should be serving it as SVG, not as WebP. SVG is resolution-independent (one file works at 16px and 1600px), typically under 2 KB, and styles via CSS. The only reason to rasterize a logo to WebP is when the SVG is too complex to render smoothly or when you need pixel-perfect consistency across browsers. Otherwise, SVG wins.
Email and old enterprise software. Outlook desktop (the Windows COM version, still used by a meaningful share of corporate email) does not render WebP inline. Neither do many older CMS rich-text editors, banking portals, or government document systems. If the image is going into an email signature, a Word document, or a PDF report, keep it as PNG or JPG.
Step-by-step: how to convert PNG to WebP
The actual conversion, end to end.
- Open the converter. Drop your PNG file (or files) onto the upload zone, or click to browse.
- Pick the output format: WebP. The converter accepts JPG, PNG, WebP, AVIF, and a few others; select WebP from the dropdown.
- Choose the mode:
- Lossless — for logos, icons, text screenshots, UI elements. Toggle the lossless switch on. There is no quality slider in this mode; the encoder guarantees bit-identical output.
- Lossy — for photos saved as PNG, gradients, decorative graphics. Toggle lossless off. Set quality to 80-90.
- Set quality (lossy mode only). Start at 85. For hero images where every pixel matters, 90. For thumbnails, 75. Always check the result at 100% zoom before shipping.
- Keep transparency. The default behavior preserves the alpha channel — no setting required. If your PNG has transparency, the WebP will too.
- Convert. The encode runs in your browser. For a single 2 MB PNG, expect under 200 ms. For a batch of 500 files, expect 30-60 seconds total.
- Download. Single file or ZIP, depending on how many you converted.
- Verify. Open the WebP in a browser. Place it on a colored background. If the transparency is correct and the image looks identical to the PNG at your target display size, you are done.
On a typical marketing site with 30-50 PNGs per page, this migration usually cuts total image weight by 70-85%. That is the kind of number that moves LCP from "needs work" to "good" without touching anything else on the page.