Why combine images into a PDF
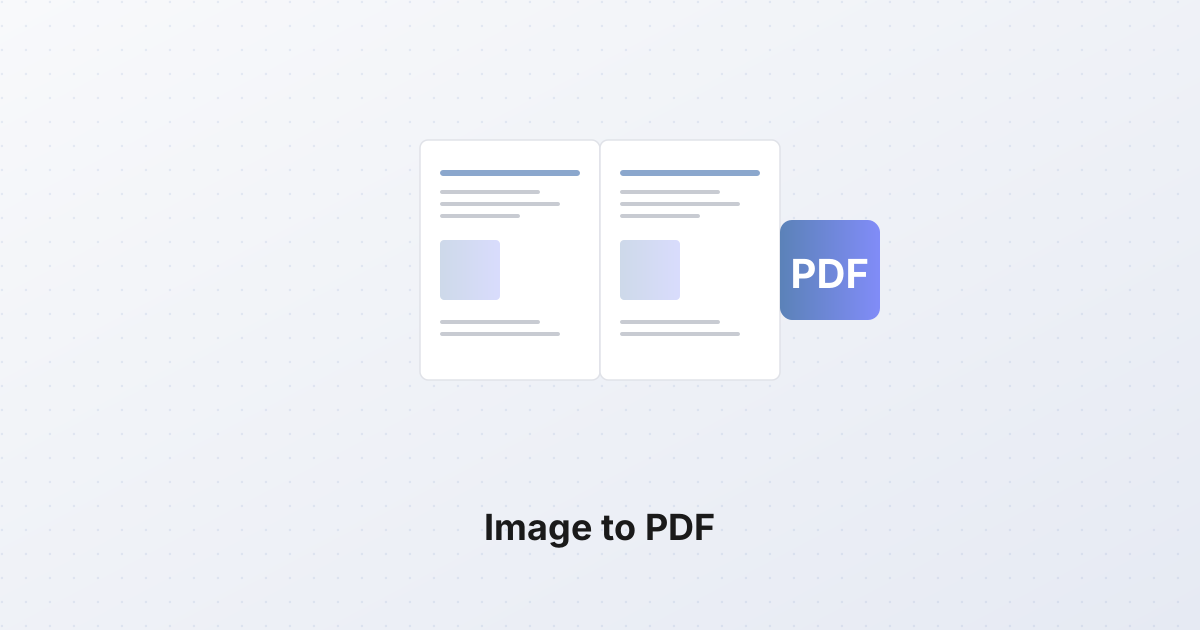
Imagine you have just photographed a signed contract, a passport, and three receipts for an expense report. You can attach five separate images to an email — but the recipient now has to open five files, scroll them in the wrong order, and figure out which page comes next. A single PDF solves that in seconds: one file, one linear flow, one download.
The PDF format was built for exactly this. Pages are fixed, text is selectable, and every device on earth can open it without installing anything. Phones print to PDF, browsers render PDFs natively, and your accountant's 15-year-old document system still reads them.
How it works in your browser
The image-to-pdf tool on this site runs entirely in your browser. There is no upload step — your photos never leave your device. Here is what happens under the hood when you click "Generate":
- Each image is loaded into a
<canvas>element and rasterized to pixels. - Pixels are downscaled if the long edge exceeds 2000 px (to keep memory safe on phones).
- The pixels are re-encoded as a JPEG at quality 0.92.
- jsPDF (a JavaScript PDF library) writes one page per image, sized to your chosen page format.
- The assembled PDF is offered as a download.
The whole thing takes a few hundred milliseconds per image. A 10-page PDF from phone photos is ready before you finish reading this paragraph.
Step-by-step usage
- Drag your images into the dropzone, or click to pick files. You can also paste from the clipboard (Cmd/Ctrl+V).
- Reorder the thumbnails by dragging — the order here is the page order in the PDF.
- Choose page size: A4 (210×297 mm, the global default), US Letter (8.5×11 in), or Auto (each page matches the image's own aspect ratio — useful for landscape photos).
- Pick orientation: portrait, landscape, or auto (follows each image).
- Adjust margins: 0–40 mm. Zero fills the whole page (great for full-bleed scans); 10–15 mm gives a clean document look.
- Choose fit mode: Fit (entire image visible, with letterboxing) or Fill (image covers the whole page, edges may be cropped).
- Generate. The PDF preview appears inline; download with one click.
Page size and orientation tips
- Documents, receipts, contracts → A4 portrait, 10 mm margins, Fit mode. This matches what printers expect.
- Passports and ID cards → A4 portrait with Auto fit. Two scans per page (left/right) look cleanest.
- Landscape photos and screenshots → Auto page size with 0 margins. Each image becomes its own page at native aspect ratio.
- Photo albums → A4 landscape, Fill mode, 5 mm margins. Bleeds to the edge and looks like a printed book.
- Homework and assignments → A4 portrait, 20 mm margins (room for handwritten notes), Fit mode.
Why privacy matters here
A surprising number of "convert images to PDF" sites upload your files to a server, process them there, and email you a link. That is fine for a meme — not fine for a passport scan or a signed contract. The server sees every byte. It might log them. It almost certainly stores them for some retention period. And if it gets breached, your documents are part of the leak.
Browser-side processing is different. The image never leaves your tab. There is no server request, no upload progress bar, no "your file is queued" message. The bytes go from your disk to your screen and nowhere else. Close the tab and they are gone.
For sensitive documents — ID cards, medical records, financial statements — this is the only acceptable model.
Use cases that pay off
- Expense reports: 8 receipts → 1 PDF, in chronological order.
- Passport and visa applications: photo page + supporting documents in one file.
- Contracts: scan every signed page, combine into a single PDF for the counterparty.
- Homework: photograph each problem page, submit one PDF instead of 12 attachments.
- Property rentals: photos of the move-in condition, one PDF per room.
- Insurance claims: before/after photos and receipts in one document.
- Photo albums: 30 vacation photos as a single shareable PDF book.
- Recipes: scan handwritten recipe cards from grandma into a single searchable PDF.
Final tips
- Order matters. Name files with a numeric prefix (
01-scan.jpg,02-scan.jpg) before importing so the alphabetical sort matches your intent. - Use PNG for text-heavy scans, JPEG for photos. The tool accepts both.
- Check the PDF size before emailing. If it is over 25 MB, you will hit most email limits — compress the source images first.
- Sign before combining if you use a drawing tool. Or combine first and sign the final PDF — both work.
Three images, one PDF, one minute. Try it with whatever is on your camera roll right now.