The upscaling problem
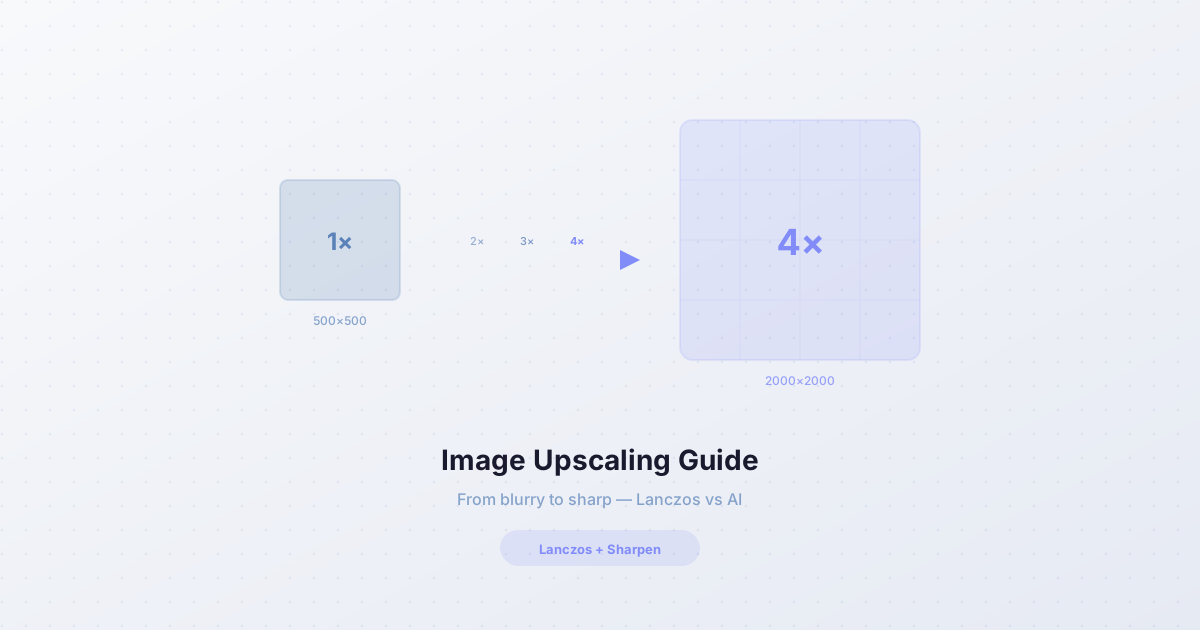
You have a 500×500 photo. You need it at 2000×2000 — for a print, a retina display, a banner. The photo has 250,000 pixels. You need 4 million. The missing 3.75 million pixels have to come from somewhere.
This is the upscaling problem. You cannot create information that was not captured — but you can estimate it. The quality of the estimation determines whether the upscaled image looks crisp or like a blurry mess.
Why naive upscaling fails
The simplest approach: duplicate each pixel. A 500×500 image becomes 1000×1000 by turning every pixel into a 2×2 block. The result is pixelated — blocky, with visible squares. This is "nearest-neighbor" interpolation, and it is what every image viewer did in 1995.
The next step up: bilinear interpolation. For each new pixel, average the 4 nearest source pixels. The result is smooth, but blurry — edges lose their definition, text becomes soft, and fine detail vanishes. Bicubic interpolation (averaging 16 source pixels with a cubic weighting) is slightly better, but still produces visible halos around edges.
The fundamental problem: these methods do not know what the image is. They treat every pixel the same — a pixel in the middle of a blue sky gets the same treatment as a pixel on the edge of a sharp text stroke. The result is uniformly mediocre.
Lanczos: the quality baseline
Lanczos resampling uses a sinc-windowed kernel — a mathematical function that, in theory, perfectly reconstructs the original continuous signal from its samples. In practice, it produces sharper results than bicubic because it preserves high-frequency detail (edges, text, fine textures) better.
The tradeoff is computation. Lanczos with a kernel size of 3 (the standard) requires 36 source pixels per output pixel (6×6 window), compared to bicubic's 16. For a 4× upscale of a 1000×1000 image, that is 144 million pixel lookups. On a modern CPU, this takes 2-5 seconds — acceptable for a one-off, slow for real-time.
Lanczos is the baseline for quality upscaling. Every professional tool — Photoshop, GIMP, ImageMagick — offers it. Browser-based tools that use Lanczos produce results that are nearly indistinguishable from desktop software.
AI upscaling: the promise
AI upscalers (real-ESRGAN, SwinIR, Topaz Gigapixel) take a different approach. Instead of a mathematical formula, they use a neural network trained on millions of image pairs: low-resolution and high-resolution versions of the same photo. The network learns to "hallucinate" the missing detail — adding texture, sharpening edges, and even reconstructing text.
For certain image types, the results are stunning. A 500×500 photo of a face, upscaled 4× by a good AI model, can look like it was originally shot at 2000×2000. The model "knows" what faces look like, and fills in the pores, hair, and skin texture that the low-resolution source did not capture.
But there is a catch: the AI hallucinates. It adds detail that was not in the original — and sometimes that detail is wrong. A blurry license plate, upscaled by AI, might show a plausible-looking but incorrect number. A low-res photo of a building, upscaled, might gain windows and bricks that do not exist. This is "model bias" — the AI produces what it thinks should be there, not what is actually there.
When to use which
Use Lanczos when:
- You need accurate, faithful upscaling (no hallucinated detail).
- The image has fine detail that must be preserved exactly (text, diagrams, pixel art).
- You need predictable, reproducible results.
- You are working in a browser (no model download needed).
Use AI upscaling when:
- The image is a photo of a common subject (faces, landscapes, buildings).
- You want the image to "look good" even if the detail is invented.
- You can tolerate a 10-50 MB model download.
- You are willing to accept that the upscaled detail may not be accurate.
For most use cases — web graphics, old photos, social media posts — Lanczos is sufficient and faster. For professional photo restoration or printing at large sizes, AI upscaling is worth the extra time.
The sharpening trick
Any upscaling method benefits from a sharpening pass afterward. The reason: upscaling spreads the original detail across more pixels, which visually softens the image. A light unsharp mask — which detects edges and enhances local contrast — restores the perceived sharpness without adding new information.
The amount of sharpening matters. Too little, and the upscaled image looks soft. Too much, and you get halos — bright or dark outlines around edges that look unnatural. A typical setting: amount 0.5, radius 0.7px, threshold 2. This enhances edges without introducing artifacts.
Upscaling for print
Print requires 300 DPI (dots per inch). A photo for a 4×6 inch print needs 1200×1800 pixels. A web-resolution photo (800×600) needs to be upscaled 1.5× horizontally and 3× vertically to meet this requirement.
For print, Lanczos with sharpening is usually better than AI. Print shows every pixel — AI-hallucinated texture that looks fine on screen can look "wrong" on paper, especially for faces and hands where viewers have strong expectations.
Privacy
Upscaling can run entirely in the browser. The Lanczos algorithm is pure math — no data leaves the device. AI models can also run in-browser via ONNX Runtime Web or TensorFlow.js, though the model download (10-50 MB) is a one-time cost. Either way, no image is uploaded to a server.
The future
AI upscaling is improving rapidly. Diffusion-based upscalers (the same technology behind Stable Diffusion) can now produce 8× enlargements that are visually indistinguishable from native high-resolution photos — for the right image types. The tradeoff is speed: a diffusion upscale takes 10-30 seconds on a GPU, minutes on a CPU.
For now, the practical choice for most users is Lanczos + sharpen. It is fast, free, runs in any browser, and produces quality that is "good enough" for 90% of use cases. AI upscaling is the right choice when quality matters more than speed, and when the image type is one the AI model was trained on.