What Instagram grid art is
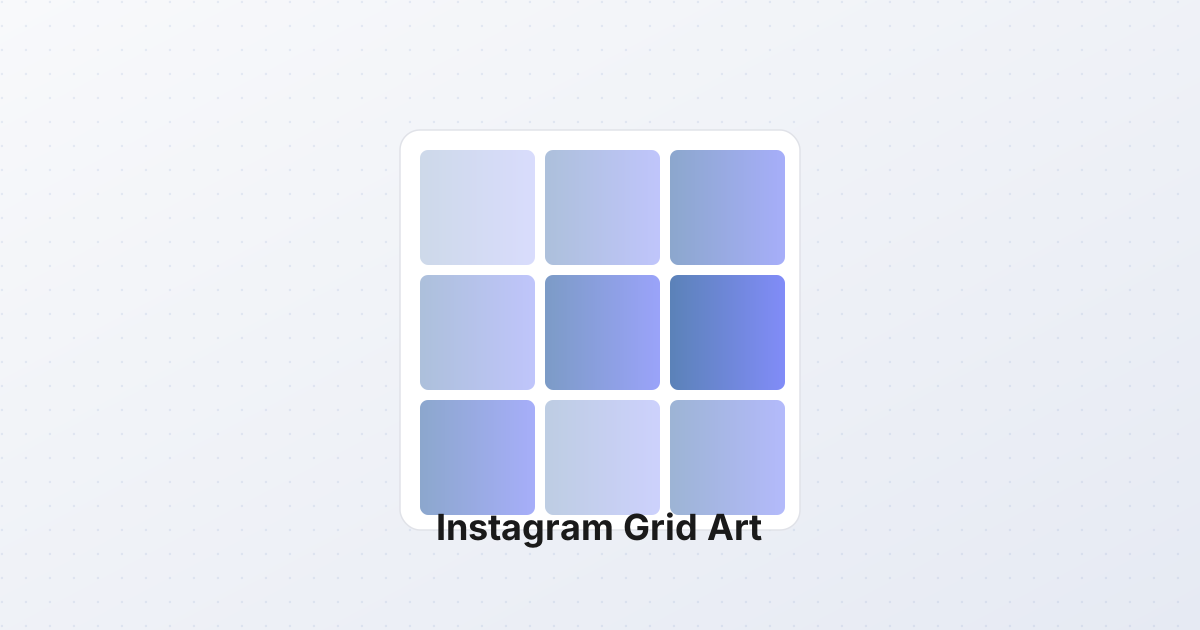
Open any well-designed Instagram profile and you will see it: one large image, sliced into 9 squares, posted one at a time. When a visitor lands on the profile, the 3×3 grid displays as a single coherent picture — the artist's face, a product shot, a travel vista. Scroll the feed and each post is its own square, but visit the profile and the mosaic assembles itself.
This is "grid art" — also called the Instagram mosaic, sliced feed, or tile puzzle. It is one of the highest-impact moves a brand or creator can make on the platform, because the profile grid is the first thing a new visitor sees.
Why it works
Instagram shows the latest 9–12 posts as a grid on your profile page. By slicing one image into 9 pieces and uploading them in the right order, you control what those 9 squares look like together. The result: a curated, branded profile that looks designed rather than random.
The pattern works for:
- Brands — a product launch spread across 9 squares.
- Photographers and artists — portfolio highlights framed as a single piece.
- Events and conferences — a hero image teasing the lineup.
- Influencers and creators — a coordinated visual identity across the top of the profile.
- Sales and promotions — a "limited offer" graphic that takes up the entire first impression.
How the split works
Take a single source image — ideally square (1:1) at 3240×3240 px or larger. Cut it into a 3×3 grid: 9 squares of 1080×1080 px each. (1080 is Instagram's standard post size, so 3×1080 = 3240.)
The image-splitter tool on this site handles this in your browser:
- Upload the source image.
- Pick the 3×3 Instagram preset.
- Choose piece size — 1080 px matches Instagram's display dimensions exactly, avoiding any re-encoding by the platform.
- Choose format — PNG for graphics with sharp edges and text, JPEG for photos (smaller upload).
- Choose publish order: Reverse (Instagram). This is critical — see below.
- Click Split. You get 9 numbered PNG/JPEG files, downloadable individually or as a single ZIP.
Why Reverse order matters
Instagram shows your most recent post at the top-left of the grid. To make the mosaic read left-to-right, top-to-bottom as a single picture, you have to upload the bottom-right piece first and the top-left piece last.
Think of it this way: piece 9 of the mosaic (bottom-right) goes up first, then 8, 7, 6, 5, 4, 3, 2, 1. When all 9 are posted, piece 1 sits at the top-left and the image reads naturally.
The tool labels pieces in IG publish order (piece-01.png = first to upload = bottom-right of the final mosaic). Follow the numbers in order and the result assembles itself.
Publishing step-by-step
- Split the image into 9 pieces in IG Reverse order.
- Download the ZIP, unzip to a folder.
- Open Instagram on desktop (mobile is fiddly for ordered uploads).
- Upload
piece-01.png(the bottom-right piece) as your first post. - Wait. Don't upload the next piece immediately — Instagram's feed algorithm favors spaced-out posts, and your followers will see 9 nearly identical squares in a row, which looks like spam.
- Post one piece every 6–12 hours, or one per day for a slower reveal.
- After all 9 are up, check your profile grid. The mosaic should assemble itself cleanly.
Tips for the best result
- Source image at least 3240×3240 px so each piece is a clean 1080×1080 with no upscaling. Bigger source = sharper pieces.
- Test in a private account first. Make a second Instagram account, post the 9 pieces there, and verify the mosaic reads correctly before publishing to your main profile.
- Keep visual interest in each piece. A piece that is pure sky or pure background looks like a glitch out of context. Crop the source so each square has something recognizable.
- Avoid text that crosses piece borders. Letters split across two squares look broken. Either keep text inside one square, or scale it so it spans all 9 cleanly.
- Use PNG for graphics with text, JPEG for photos. JPEG is fine for portraits and landscapes; PNG keeps logos and text crisp.
- Mind the gaps. Instagram shows a small white gap between grid cells. Pure white or pure black pieces will visually merge with the gap and break the illusion. Keep contrast at the edges.
- Plan the order around your posting schedule. If you post daily, the mosaic takes 9 days. If you post 3× per day, it takes 3 days. Either way, the visual payoff is the finished grid — make sure that is the goal, not the individual posts.
What about 2×2 or 4×4?
Instagram's profile grid is always 3 columns wide, so a 3×3 mosaic fills the first three rows perfectly. A 2×2 (4 pieces) fills just the top 2 rows of the first 2 columns — looks intentional but smaller. A 4×4 (16 pieces) overflows into the 4th row, where it gets cut by the next posts. 3×3 is the sweet spot.
If you want a different feel: 3×1 carousel (3 vertical panels for a single wide image when visitors swipe) is a separate technique — that is a multi-image post, not a grid mosaic. The splitter handles both.
Final note
Grid art is one of the rare social media tactics that rewards patience. Nine posts over nine days feels slow while you are doing it — then on day 9, you visit your own profile and the picture clicks into place. Worth every minute.