What JPG and PNG actually are
JPG (or JPEG, Joint Photographic Experts Group) is a lossy raster format designed in 1992 for one job: shrinking photographs. It throws away color and detail the eye barely notices, which is why a 5 MB phone photo can become a 500 KB JPG with no visible quality loss. JPG does not support transparency — every pixel must be a solid color.
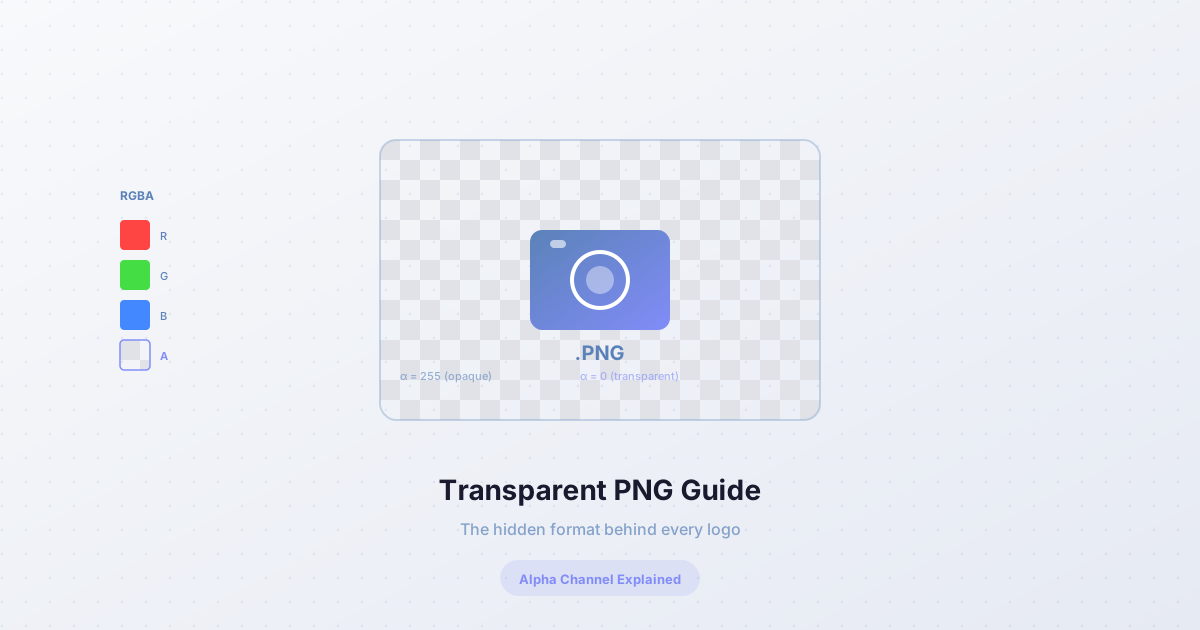
PNG (Portable Network Graphics) is a lossless raster format created in 1996 as a patent-free replacement for GIF. It preserves every pixel exactly, supports 8-bit transparency (256 levels of see-through), and is the standard for anything with sharp edges, text, or transparency — logos, UI screenshots, line art, icons.
The difference in one sentence: JPG sacrifices detail to shrink photos; PNG preserves detail and supports transparency at the cost of larger files.
When to convert JPG to PNG
- You need transparency. JPG cannot do transparency — every pixel must be a color. A logo on a white background, exported as JPG, is locked to white forever. Convert it to PNG and you get a clean alpha channel you can place on any background.
- You need lossless quality. If you'll edit the image again (re-color, re-export), each JPG re-save degrades it. PNG is bit-for-bit identical no matter how many times you save.
- You're working with graphics, logos, or screenshots. JPG artifacts around text and edges are ugly; PNG keeps them crisp.
Note: converting a photograph from JPG to PNG does not improve quality — the JPG artifacts are baked in. It just makes the file 5–10× bigger.
When to convert PNG to JPG
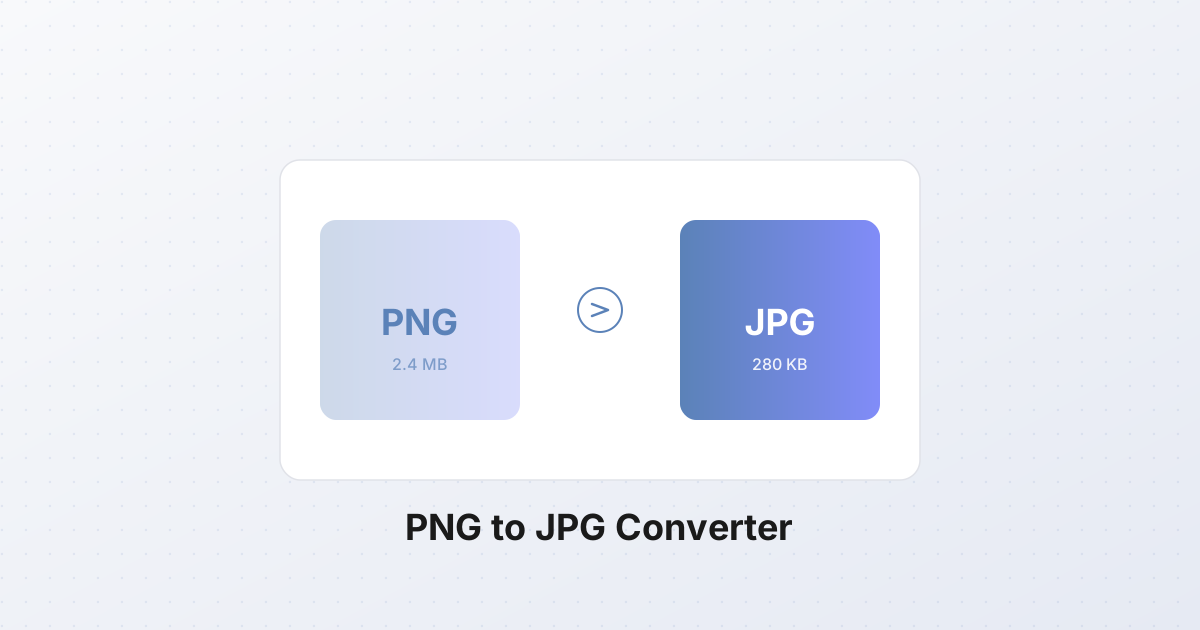
- You have a photo stored as PNG. A 5 MB PNG photo becomes a 400 KB JPG at quality 85 — visually identical, 10× smaller.
- You're publishing to the web and the image has no transparency.
- You're emailing or messaging and the recipient's client struggles with large PNGs.
This is the single fastest "shrink my image" move: open a PNG photo, re-encode to JPG at quality 85, and the file collapses to a fraction of its size.
How conversion works in the browser
Modern browsers can decode and re-encode images natively via the Canvas API. The pipeline is:
- The browser decodes the source file (JPG, PNG, WebP, HEIC) into raw pixel data.
- The pixels are drawn onto an in-memory
<canvas>. - The canvas is re-encoded as the target format (
canvas.toBlob('image/jpeg', quality)or'image/png').
Nothing is uploaded. The conversion happens entirely on your device — your photos never leave your machine. This is the same mechanism the format converter on this site uses.
Step-by-step: convert an image
- Open the format converter.
- Drag and drop your image (or click to browse). Multiple files are supported.
- Pick the output format — PNG or JPG.
- If JPG, set quality (default 85; see below).
- Click Convert.
- Download the result — single file, or all files as a ZIP.
Quality settings for JPG output
The JPG quality slider (1–100) controls how aggressively detail is discarded:
- 92–100 — visually identical to source; files are large. Use for archival.
- 85–92 — the sweet spot. Files drop 60–80%, no visible difference. Default for web photos.
- 75–85 — small files, mild softening visible if you zoom. Fine for thumbnails.
- Below 75 — visible artifacts. Only for bandwidth-critical use.
For most photos, quality 85 is the answer.
PNG has no quality slider — it's always lossless.
Why "convert to shrink" works
A PNG-encoded photo is enormous because PNG losslessly preserves every noisy pixel of sensor data — and there's a lot of noise in a real photo. JPG's lossy compression is designed for exactly this kind of content. Switching a photo from PNG to JPG at quality 85 typically shrinks it 5–10× with no perceptible quality change. The format choice does more work than any quality slider.
Batch conversion
Need to convert a whole folder? Drop all the files at once, pick the target format, hit Convert. Each file is processed in your browser and the results are bundled into a single ZIP — useful for migrating a photo library or prepping assets for a website.
Common mistakes
- Converting a JPG photo to PNG to "improve quality". The artifacts are already in the JPG. PNG just preserves them — at 10× the file size. Quality cannot be recovered once lost.
- Converting a PNG with transparency to JPG. Transparency turns to black (or white, depending on the encoder). You lose the alpha channel and get ugly boxes around logos. If you must, flatten onto a background color first.
- Re-saving JPGs repeatedly. Each save compounds artifacts — "generation loss". Keep an original (PNG or TIFF) and re-export to JPG only when finished.
- Forgetting to set quality on JPG export. Many tools default to quality 100, which produces files larger than the source. Always check the slider.
The takeaway
JPG and PNG are tools for different jobs. Use JPG for photographs, use PNG for graphics and transparency, and convert between them when the format isn't doing what you need. The conversion takes seconds in your browser — no uploads, no sign-up, no quality surprises.