What HEIC actually is
HEIC (High Efficiency Image Container) is a container format introduced by Apple in iOS 11 (2017). It uses HEVC (H.265) video codec technology to compress still images — the same algorithm that powers 4K video streaming, applied to a single frame.
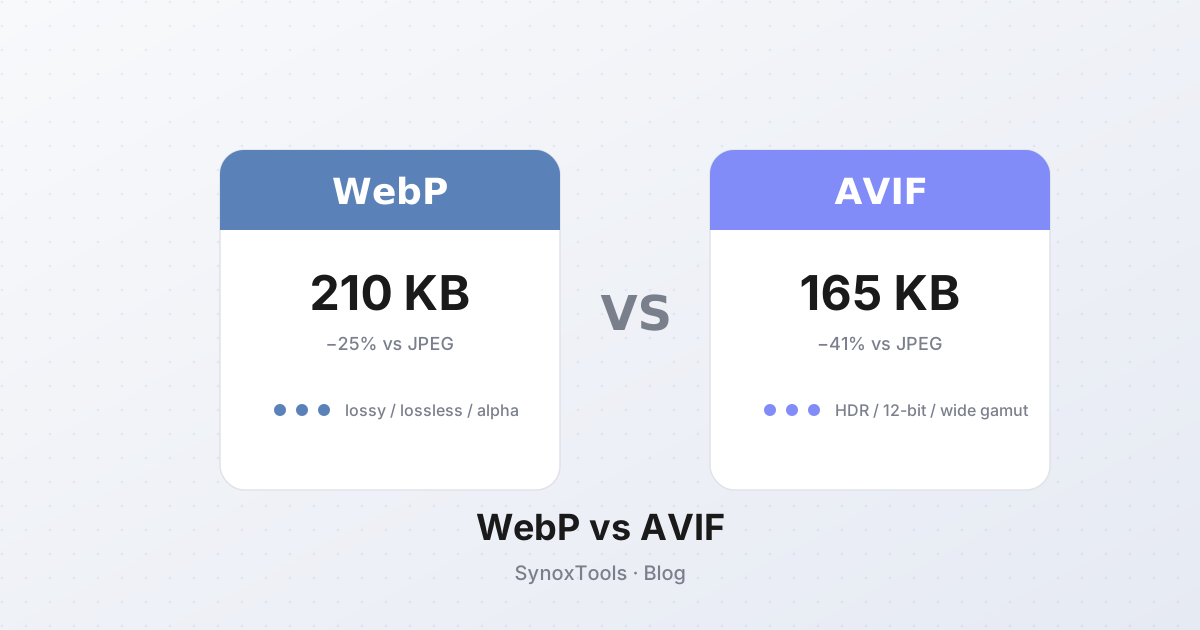
The result: a HEIC file is roughly half the size of an equivalent JPEG at the same visual quality. A 5 MB iPhone photo becomes 2.5 MB without any visible difference. Multiply that across 10,000 photos in a Camera Roll and you save 25 GB of iCloud storage.
Why Apple chose HEIC
In 2017, iPhone cameras hit 12 megapixels and started shooting in RAW. Storage consumption exploded. Apple had two options:
- Ship bigger storage tiers — expensive, and users hate paying for upgrades.
- Compress better — free, transparent to the user.
They chose compression. HEIC gave them 50% file size reduction with no visible quality loss, and it worked inside the existing iPhone hardware (the A11 chip had native HEVC encoding). It was a no-brainer for Apple — but a compatibility nightmare for everyone else.
The compatibility problem
HEIC is supported by:
- iOS 11+ (iPhone, iPad)
- macOS High Sierra+ (2017+)
- Windows 10 (with the HEIF Image Extensions from the Microsoft Store — paid $0.99 until 2023, now free but requires manual install)
- Android 9+ (Pie, 2018) — but only some manufacturer UIs (Samsung, Pixel) enable it by default
Not supported by:
- Windows 7, 8, older Windows 10
- Most web browsers (Chrome added HEIC support in 2022, Firefox still does not support it natively)
- Most content management systems (WordPress, Shopify, etc.)
- Email clients (Gmail, Outlook strip HEIC attachments or fail to display them)
- Most photo printers and online print services
Translation: if you take a photo on your iPhone and try to upload it to a website, send it via email, or open it on a Windows PC — it will probably fail. The file shows up as "unsupported format" or downloads as a corrupted JPEG.
Three ways to fix it
Option 1: Change iPhone to shoot JPEG (simplest)
This is the easiest fix. iPhone has a setting that makes it shoot JPEG instead of HEIC:
- Open Settings → Camera → Formats
- Change "High Efficiency" to "Most Compatible"
After this, every new photo is saved as JPEG. Old HEIC photos stay as HEIC, but new ones work everywhere.
The trade-off: JPEG files are roughly 2× larger than HEIC. If you have a 64 GB iPhone and shoot a lot, you will fill it up faster. For most users with 128 GB+ phones, the size difference is unnoticeable.
Option 2: Convert HEIC to JPEG in the SynoxTools converter
If you already have HEIC photos and need them as JPEG, use the Image Converter on this site. Drag in a .heic file, pick JPEG as the output format, hit Convert.
The conversion runs entirely in your browser — no upload, no server processing. The HEIC file is decoded locally using the browser's built-in HEIC support (Chrome 108+, Safari 17+, Edge 108+) or a WASM fallback for older browsers.
For batches of HEIC photos from a vacation or event, use the Batch Convert tool — drop in 100 HEIC files, get back 100 JPEGs in a single ZIP.
Option 3: Use Apple's built-in conversion when transferring
When you plug an iPhone into a Mac or PC via USB, the iPhone offers a setting called "Automatic" in Settings → Photos → Transfer to Mac or PC. With this enabled, the iPhone converts HEIC to JPEG on-the-fly during the transfer — your computer receives JPEGs even though the phone stores HEICs.
This works for USB transfers. It does not work for AirDrop, iCloud Photo sharing, or third-party cloud apps — those preserve the original HEIC format.
When you actually want to keep HEIC
Despite the compatibility hassle, HEIC is the better format for archival storage. Reasons to keep it:
- Smaller files — 50% storage savings on iCloud and local backups
- Higher quality — HEIC preserves 10-bit color, JPEG is 8-bit
- Multiple images per file — HEIC can store bursts, depth maps, and Live Photos in a single file
- Native editing on Apple devices — iPhone Photos app edits HEIC non-destructively (every edit is reversible, no quality loss)
The best workflow for serious photographers: keep HEIC originals in Apple Photos, export JPEG copies only when sharing externally. The Image Converter is for the export step.
Why browsers finally support HEIC (2024+)
Chrome added HEIC support in version 108 (November 2022) because Apple contributed HEVC decoding code to the Chromium project. Before that, every website with user-uploaded photos had to convert HEIC server-side — slow, expensive, and a privacy issue.
In 2024, the browser HEIC decoder is fast enough that client-side conversion (what SynoxTools does) is realistic. A 5 MB HEIC converts to JPEG in ~200 ms in Chrome, ~150 ms in Safari. Firefox is still unsupported as of early 2026.
Practical advice
- If you only use Apple devices: keep HEIC. The storage savings are worth it.
- If you use Windows or share photos online: switch iPhone to "Most Compatible" (Option 1).
- If you already have HEIC files: use the Image Converter to batch-convert them to JPEG.
- For email attachments: always convert HEIC to JPEG before attaching. Most email clients silently drop HEIC files.
- For website uploads: most CMS systems still reject HEIC. Convert first.
The HEIC situation is improving — every major OS now supports it natively, and the web is catching up. By 2027-2028, HEIC will probably be as universally supported as JPEG is today. Until then, knowing how to convert is essential.